How to install solar street lights?
How to install solar street lights?
Solar street light system refers to a set of the independent distributed power supply system that constitutes solar street light. It is not restricted by region, not affected by the power installation location, and does not need to excavate the road for wiring and pipe buried construction. On-site construction and installation are very convenient, it does not require power transmission and transformation systems, does not consume electricity, and is environmentally friendly and energy-saving, The overall economic benefits are good, especially for the added solar street lights on the built roads is very convenient. Especially when it is applied to road lights, outdoor billboards, and bus platforms far away from the power grid, its economic benefits are more obvious.
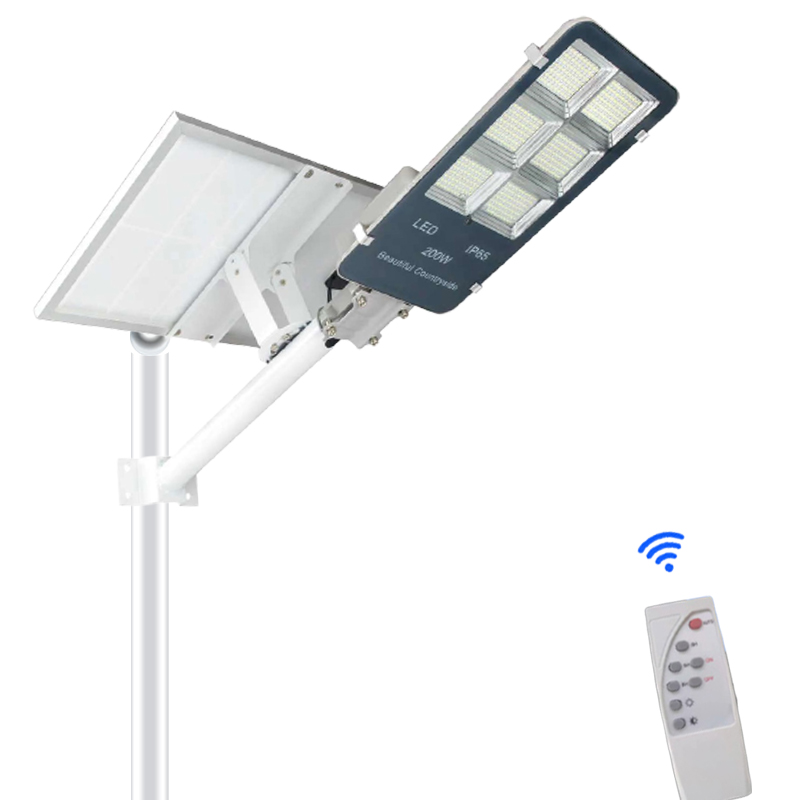
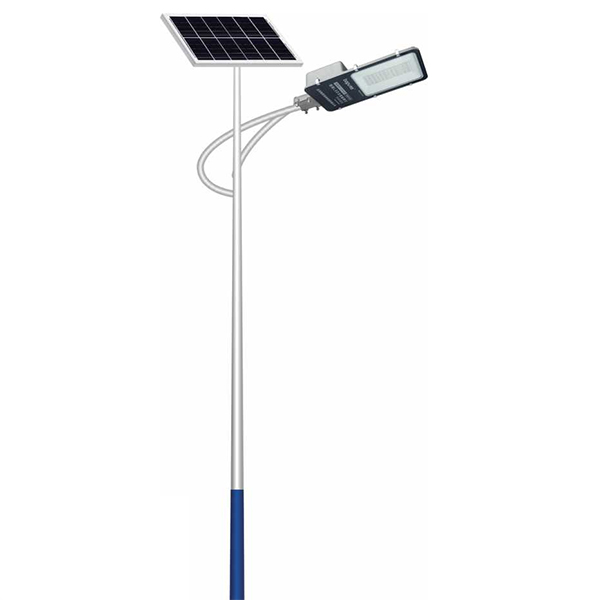
The solar street light system is composed of eight elements. That is solar panels, solar batteries, solar controllers, main light sources, battery boxes, main lamp holders, light poles and cables.
First. The working principle of solar street lights
Description of the working principle of solar street lights: solar street lights during the day are under the control of the intelligent controller, the solar panels absorb solar light and convert it into electrical energy under the control of the intelligent controller. The solar cell modules charge the battery pack during the day, and the battery pack provides power to the LED at night The light source is powered to realize the lighting function. The DC controller can ensure that the battery pack is not damaged due to overcharging or over-discharging. It also has functions such as light control, time control, temperature compensation, lightning protection, and reverse polarity protection.

Second, the components of solar street lights
1. Solar panels
The solar panel is the component that supplies energy to the solar street lamp. Its function is to convert the sun’s light energy into electric energy and transmit it to the battery for storage. It is the most valuable part of the solar street lamp. The solar battery mainly uses monocrystalline silicon as the material. The solar photons and light radiation heat that promote and affect the movement of PN junction holes and electrons in solar cells are also known as the principle of photovoltaic effect. Now the power of photoelectric conversion is about the power of photovoltaic cells is about monocrystalline silicon 13 %-15%, polysilicon 11%-13%. Now the latest technology also includes photovoltaic thin-film batteries.
2. Battery
The battery is the power storage of the solar street lamp, and the collected power is supplied to the street lamp to complete the lighting. Because the input energy of the solar photovoltaic power generation system is extremely unstable, it is usually required to be equipped with a battery system for operation, usually, lead-acid batteries, Ni-Cd batteries, Ni-H batteries, the selection of battery capacity usually follow the following guidelines: First, on the premise of satisfying the night lighting, store the energy of the solar cell components during the day as much as possible, and at the same time, it must be able to store the energy that meets the lighting needs of consecutive rainy days at night. Electrical energy.
3. Control the inverter
The existence of the solar manipulator directly affects the life of the system, especially the life of the battery. The manipulator uses an industrial-grade MCU as the main controller. After measuring the ambient temperature, the voltage and current of the battery and solar cell components are measured. Check and judge, control the registration and shutdown of MOSFET equipment, to achieve various control and protection functions.
4. LED light source
What kind of light source the solar street lamp chooses is the main goal of whether the solar lamp can be used normally, usually low-voltage energy-saving lamps, low-pressure sodium lamps, induction lamps, LED light sources are used for solar lamps, and some use high-power LED light sources.
5. Light pole light stand
The street light pole device supports LED street lights.
![]()
Third, the installation steps of solar street lights
(1) Foundation pouring
1. Determine the position of the standing lamp; survey the geological conditions. If the ground surface is soft and soft soil at 1m2, the excavation depth should be deepened; at the same time, confirm that there are no other facilities (such as cables, pipes, etc.) below the excavation position and the top of the street lamp is not long Time to shade the object, otherwise, the position should be changed appropriately;
2. Reserve (excavate) a 1m3 pit that meets the standard at the position of the vertical lamp; carry out the positioning and pouring of the embedded parts, the embedded parts are placed in the center of the square pit, one end of the PVC threading pipe is placed in the middle of the embedded parts, and the other Put the end in the storage place of the battery, pay attention to keeping the embedded parts, the foundation and the original ground on the same level (or the top of the screw is on the same level as the original ground, depending on site needs), and one side must be parallel to the road. Ensure that the rear end of the light pole is upright and not skewed, and then cast and fix it with C20 concrete. Do not stop using the vibrator during the pouring process to ensure the overall compactness and firmness;
3. After the construction is completed, promptly clean up the remaining sludge on the positioning plate, and clean the impurities on the bolts with waste oil;
4. When the concrete is solidified, water should be regularly watered for maintenance; the chandelier can only be installed after the concrete is completely solidified (generally more than 72 hours).
(2) battery assembly installation
1. Before connecting the output positive and negative poles of the solar panel to the controller, measures must be taken to avoid short-circuiting;
2. The solar cell module and the bracket must be firmly and reliably connected;
3. The output wires of the components should be avoided exposed and fastened with cable ties;
4. The orientation of the battery assembly should face due south, whichever is the direction of the compass.
(3) battery installation
1. When the battery is placed in the control box, handle it gently to prevent damage to the control box;
2. The connecting wire between the batteries must be bolted on the battery terminal and use copper gaskets to enhance conductivity;
3. After the output line is connected to the battery, it is forbidden to short-circuit under any circumstances to avoid damage to the battery;
4. When connecting the output wire of the battery with the controller in the pole, it must pass through a PVC pipe;
5. After the above is completed, check the wiring of the controller to prevent short circuits. Close the door of the control box when it is normal.
(4) Lamp installation
1. Fix the components of each part: fix the solar panel on the solar panel bracket, fix the lamp head to the arm, then fix the bracket and the arm to the main pole, and pass the connecting wire to the control box (battery box);
2. Before lifting the lamp pole, first check whether the fasteners of each part are firm, whether the lamp holder is installed correctly, whether the light source is working normally, and then whether the simple debugging system is working normally, loosen the solar panel connection line on the controller, and the light source works;
3. When lifting the main light pole, pay attention to safety precautions, and the screws are absolutely fastened. If the component's facing angle is deviated, you need to adjust its facing direction to face the south;
4. Put the battery into the battery box, and connect the connecting wire to the controller according to the technical requirements; first connect the battery, then the load, and then the solar panel; pay attention to the wiring and the terminal marked on the controller when wiring. It cannot be connected wrongly, the positive and negative polarities cannot collide, and cannot be connected reversely; otherwise, the controller will be damaged;
5. Check whether the system is working properly; loosen the solar panel connection line on the controller, the light is on, connect the solar panel connection line, and the light is off. At the same time, carefully observe the changes in the indicators on the controller. Everything is normal before it can be sealed. control box.

- How to distinguish floodlights and project lamps?
- How to extend the life span of LED explosion-proof lights?
BP-JFX-100
BW-JYX-100
Courtyard floodlights
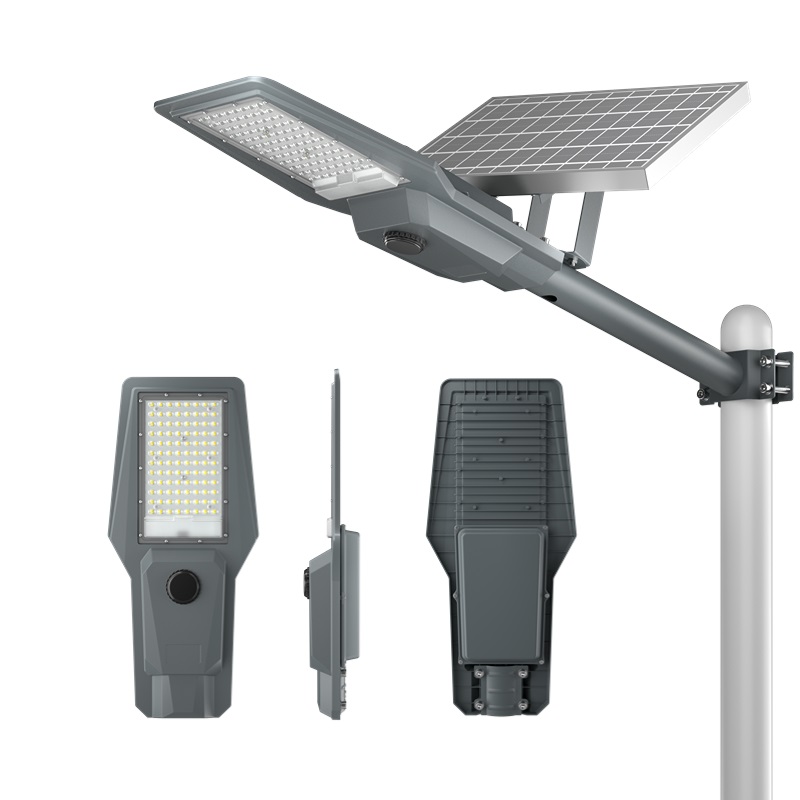
BP-1601F-PLUS 100w solar street light
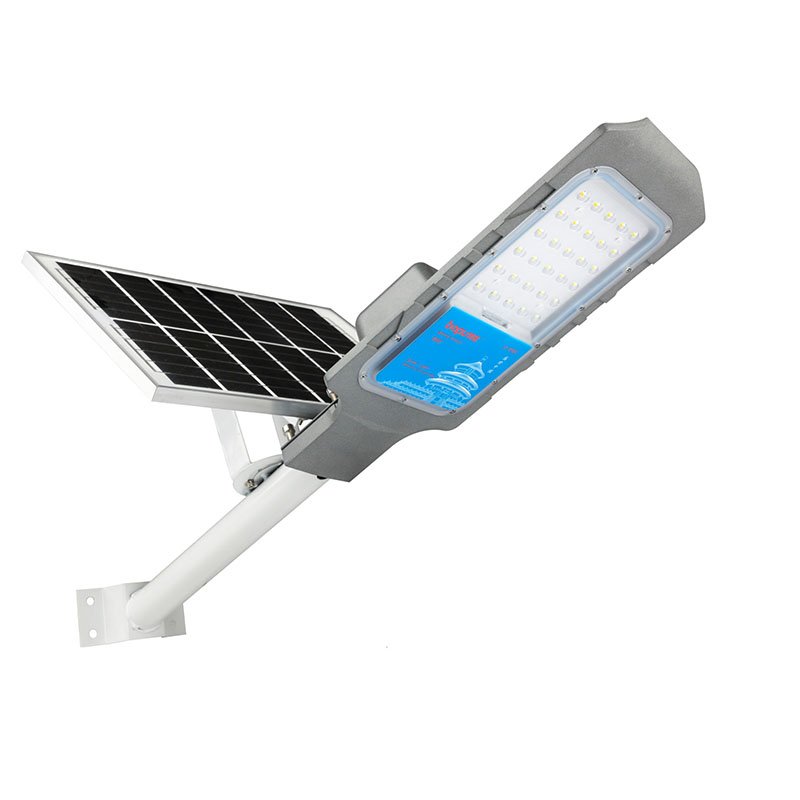
BP-805 100w solar street light
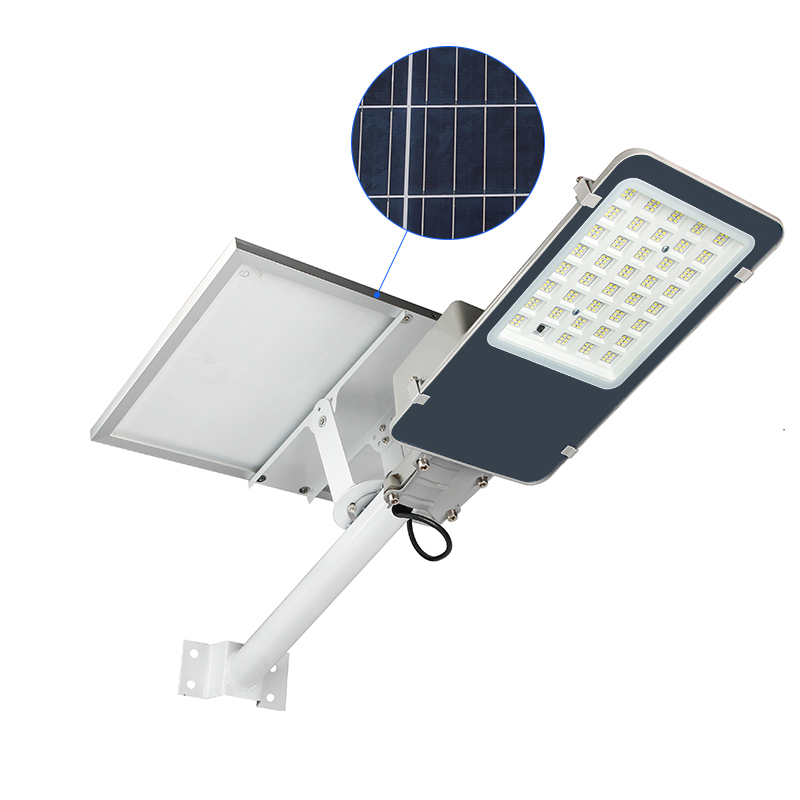
BP-16B0F solar panel street light
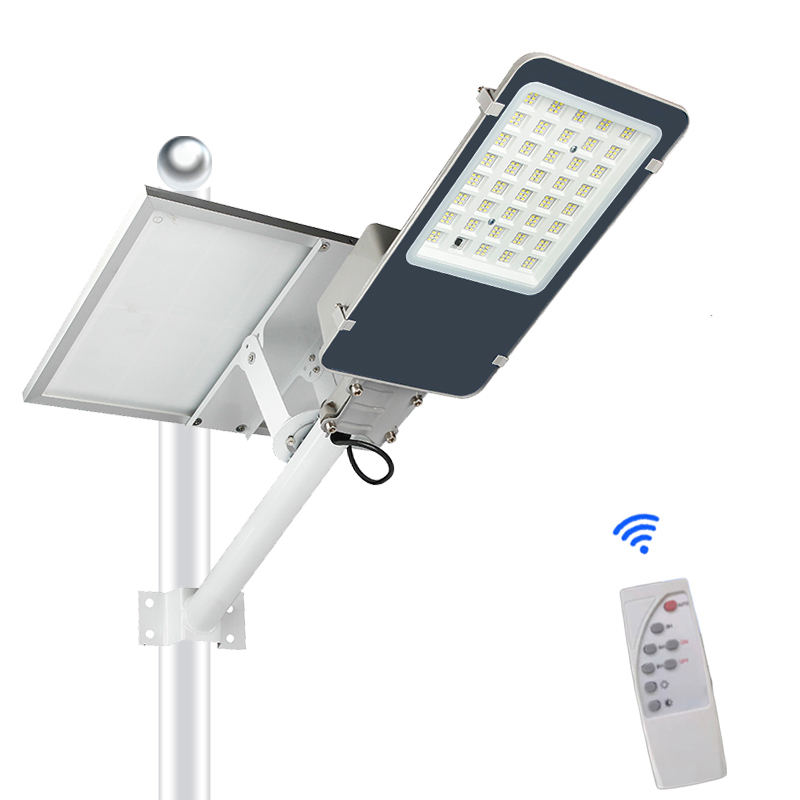
BP-1601F 100w solar street light for 3~5M pole
BP-1602F solar street light for 4~7M pole
BP-1611F solar led street light for 4~8M pole project
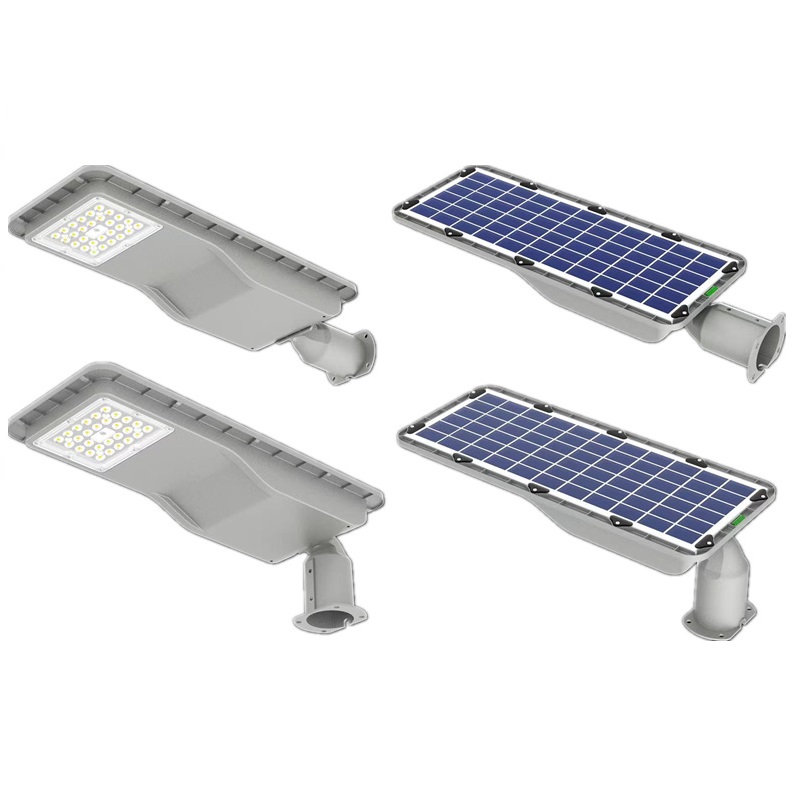
BP-C1700 High lumen led integrated solar street light
UFO road mode darkroom integrating sphere data
Solar garden lightSquare Landscape Lamp Product Manual V1.0
Square Landscape Lamp Product Specification V1.0
We hereby sincerely invite you and your company representatives to visit our booth at The China Import and Export Fair Exhibition Hall in Guangzhou of China from June 9th to 12th, 2024.
The accessories of solar street lights for projects
Hot point New design Solar Street light (Intelligent cleaning of solar panels)
2023 New model integrated solar street light pole hidden design
LED Expo Thailand 2023-Lighting Fair
What is the Solar Street Light Pwm Charging Mode?
What is the main features of solar panel glass?


